How To: Activate a license on a license server
These instructions explain how to activate a license on a license server. There are two options for this:
Activation with the CODESYS Development System (SP21 and higher) – system-independent
Activation with the integrated
WebBasedManagement(in Linux)WebBasedManagement is part of the CODESYS License Server for Linux SL.
Activation with the CODESYS Development System (SP21 and higher)
To activate a license server in CODESYS, proceed as follows:
Click the Tools → Options command and then select the License Manager category.
Specify IP address (1) of the server and select the entry (2).
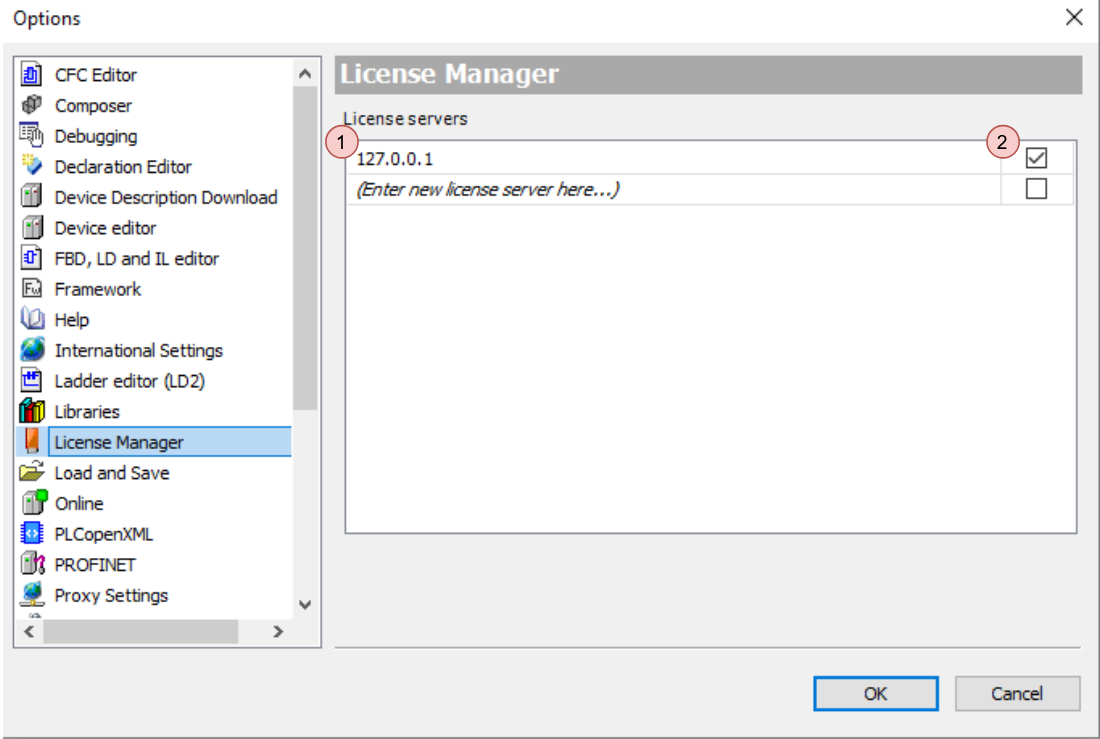
Click OK to exit the dialog.
Run the Tools → License Manager command.
The License Manager will open.
Select the Workstation option and click Next.
The License Manager – Overview dialog will open.
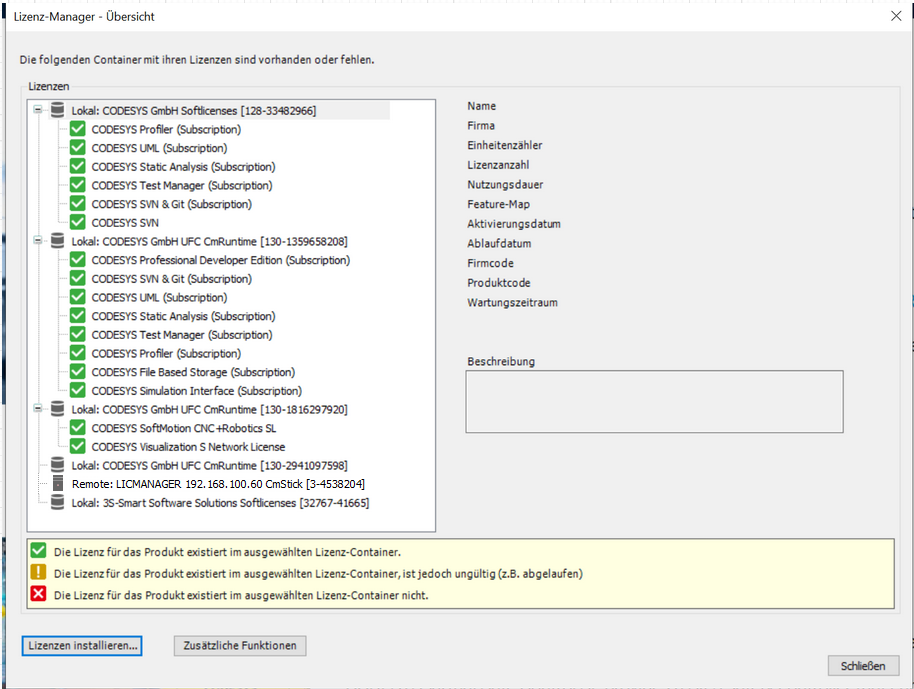
License servers are identified in the dialog with a server icon and the prefix
Remote.
Click the Install Licenses button.
The Install licenses – Select Operation dialog will open.
Select Activate license and click Next.
The Install licenses – Activate License dialog will open.
In the Ticket ID input field, specify the ticket number from the email. The entry
license.codesys.comis automatically selected in the License server list box.After you have specified the ticket number, the Container list box will be automatically filled with the appropriate soft container.
Select the container of the license server.
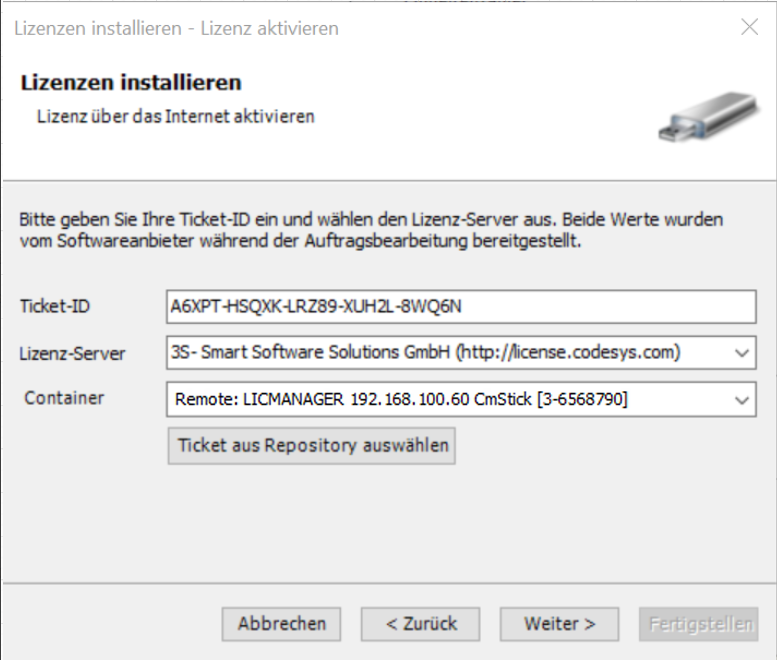
Click Next.
The connection to the license server (http://license.codesys.com)) is established and the license will be activated.
Click Finish.
The Install licenses dialog will close.
The License Manager dialog will refresh. The activated licenses are listed under the container.
Note
To ignore licenses from a license server in the future, you can either clear the check from Step 2 or press the Del key to completely remove the entry.
Activation with the CODESYS License Server for Linux SL (Linux only)
To activate a license ticket on the CODESYS License Server for Linux SL via the Cockpit plug-in, proceed as follows:
In CODESYS Development System, run the Tools → Deploy Control SL command.
The deployment tool will open in the editor.
Provide your credentials and connect to the device.
The status changes to Connected.
Switch to the Operation tab.
In the list box, select the CODESYS License Server for Linux SL product.
Under Actions, click the command.
The WBM (web-based management) will open in the browser.
Log in with your Linux credentials.

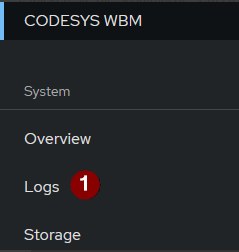
Click the CODESYS WBM (1) → CODESYS Licensing (2) commands.

Copy the serial number (1) of the container and paste it in Serial number (2).
Enter the ticket number in the Ticket field (3).
Click the ACTIVATE TICKET button.
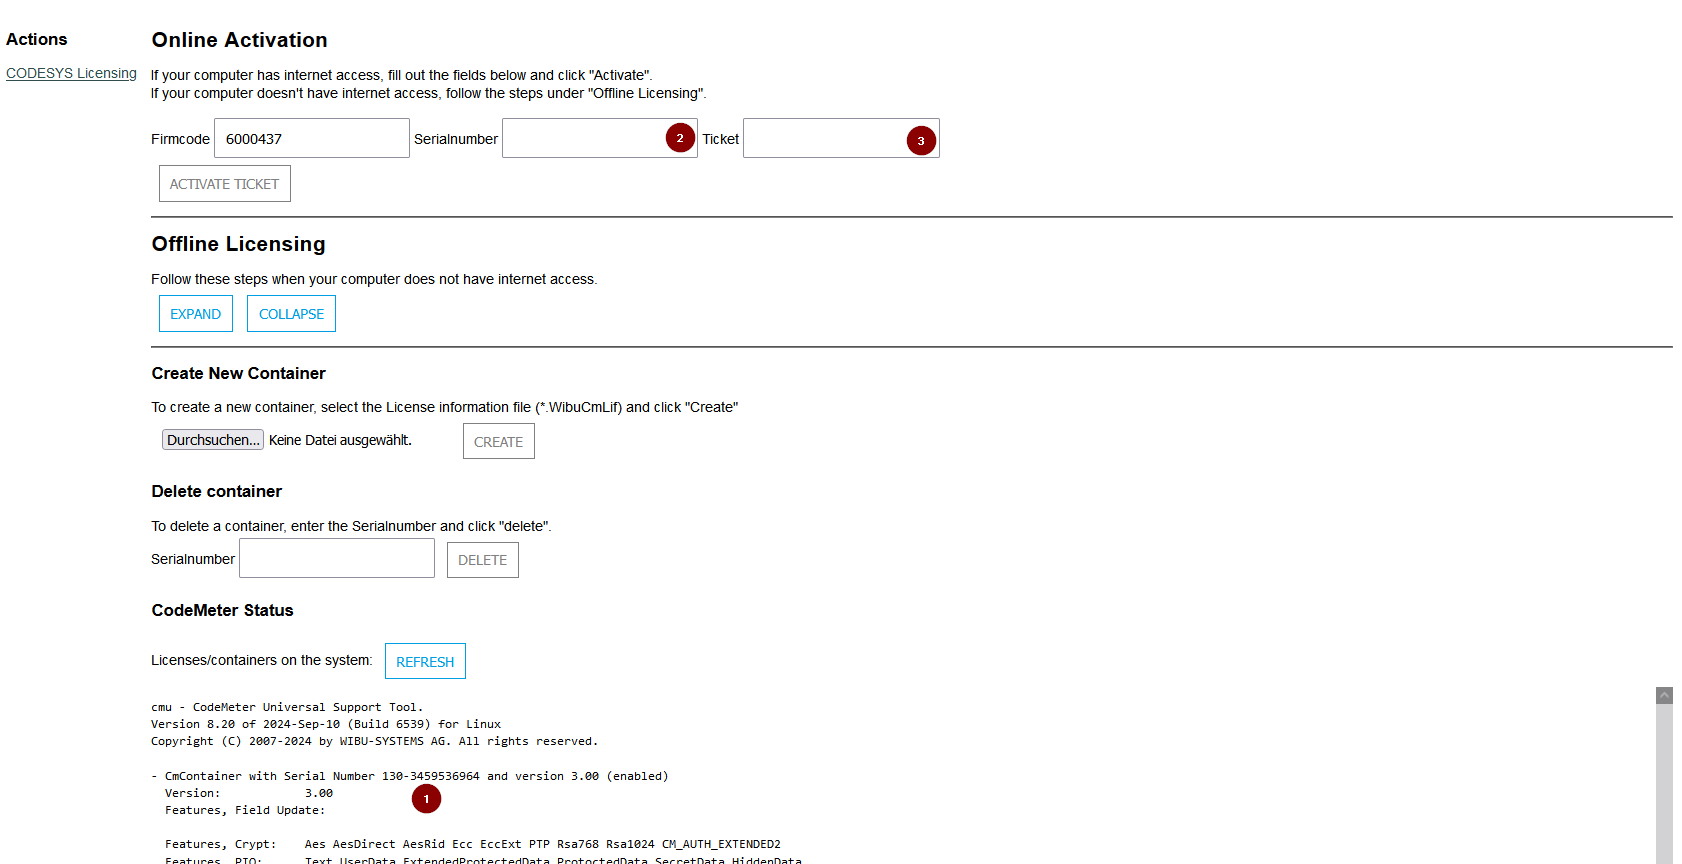
At the bottom of the page, check in the overview to see that the desired articles and product codes (as part of the ticket) have been installed on the network license server.
Creating a new container
By default, the CODESYS License Server for Linux SL package creates a license container where you can install a license.
If you want to create a new container, then proceed as follows:
Copy the
*.WibuCmLiffile from the CODESYS License Server for Linux SL to your computer (for example, using an SSH client or SCP).In the web-based management section, in the Create New Container section, click the Browse button and select the file you saved before.
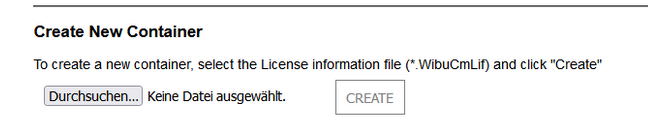
Click the CREATE button.
At the bottom of the page, check the overview to see that the new container has been created.
In case of an error, you can find more information on the Logs page.
Next step: How To: Use a license on a license server