Generating Visualization Screens
For visualization screens in the Application Composer all elements of CODESYS V3 as well as the embedded visualization screens can be used. Furthermore visu elements (example: rectangle), which are marked as special placeholder, can be used:
Placeholder elements in visualization screens
Standard visualization elements (example: rectangles, images) can be used as placeholder elements. When generating the visualization the assigned embedded visualizations will be arranged on the placeholder position (position and size).
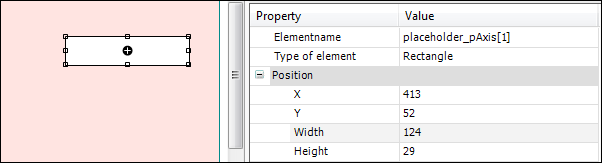
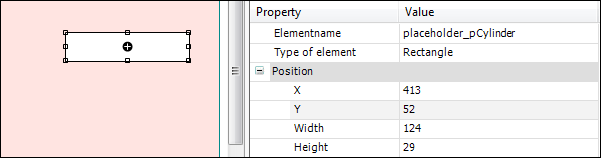
The definition of placeholder elements is done by the instance name of the element. The name of the element must be
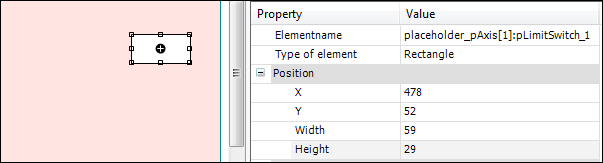
PLACEHOLDER_<SUBPATH>. Syntax of<SUBPATH>:<SUBPATH> ::= <SLOTREF> | <SLOTREF>:<SUBPATH><SLOTREF> ::= <SLOTNAME> | <SLOTNAME>[<idx>]The
<SLOTNAME>is the target name of a slot (upper or lower case is not relevant).<idx>is a zero based index which can only be used for multislots. It defines which submodule instance of the multislot shall be displayed.While reading the module definition the system checks if the placeholder names in the visualization screens are valid. If an element of the visualization screen starts with "
PLACEHOLDER_" (upper or lower case is not relevant), the<SUBPATH>must start with a valid slot reference. If an index is present, it must be compatible with the slot cardinality. All slot names of the path must be valid IEC identifiers. If there are several placeholder, all paths must be different. Furthermore the placeholder elements must not have empty area.If there exists no according module instance to the
<SUBPATH>of a placeholder element, no visualization will be assigned to this element. No error message will be created.If there exists an according module instance to the
<SUBPATH>of a placeholder element, this element will be embedded if it is defined as an embedded screen visualization for the current screen.The embedded visualizations will keep their original aspect ratio. The size will be adapted to the placeholder in the best possible way without sticking out beyond it.
Tip
Only submodule instances and their submodule instances can be embedded using placeholders It is not possible to embed visualizations from other branches of the module tree.
Checking the toplevel template
The following checks are performed on the toplevel screen:
If the visualization template does not exist or if there are inputs or outputs defined in its interface, an error will be displayed.
If an obligatory element is missing, an error will be displayed.
If an element of a toplevel template is defined but it has an empty area or the wrong element type, an error will be displayed.
If the tab templates and the frame are overlapping, an error will be displayed.
If the position of the second tab template is identical to the first template or if its position is on the left side or above the first template, an error will be displayed.
In case of horizontal alignment of the tabs an error will be created if the tabs are not completely above or below the frame.
In case of vertical alignment of the tabs an error will be created if the tabs are not completely on the right or the left side of the frame.
Creating the visualization screens
All visualization screens will initially be created by the command Generate. With a second generator run only the changed parameters of the module tree will be updated.
A created visualization screen contains a frame which defines the size of the visualization and which holds the corresponding visualization of the module. This frame is in the background, all embedded visualizations will be arranged as follows:
All embedded elements are identified persistently by the element ID. If an existing visualization screen is updated by a new generator run, the system searches for the according ID. If this element (ID) exists only the parameter changed in the module configuration will be updated. For example, the position remains unchanged, and the visualization/frame switch and the visualization object used for the display can change.
The embedded visualizations will be arranged on the screen from left to right and from top to the bottom. A matching placeholder element has a higher priority. Finally, both mechanisms are not used if the frame with the corresponding ElementID already exists during generation. In this case, the position remains unchanged.
Visualization screens, which have been created in the last generator run, but do not exist in the current generator run, will be deleted.
Order of embedding visualization elements
In the first step all visualizations which are embedded by next Ancestor will be arranged. These elements will be inserted in the preorder of the module instances in the module tree. (First the first child, then all of its submodules, then the second child and so on)
After that, all visualizations, which are embedded by the definition of the instance, will be inserted. This will also be done in the preorder of the module instances.
Navigation within the visualization
The navigation within the visualization can be done by use of the tabs or the Back, Up, and Forward navigation buttons. A mouse click on the tab elements switches directly to the corresponding visualization screens. The Back and Forward buttons can be used to navigate within the history of the displayed screens (similar to the navigation in Internet browsers). The Up button switches to the next higher level.