How to Create an Axis Group
Adding objects to the device tree
The following steps describe how to create and configure an axis group.
Create a new standard project with CODESYS Control. For the POU
PLC_PRG, select the CFC implementation language.In the device tree, open the context menu of the Device object and select the Enable SoftMotion command.
A SoftMotion General Axis Pool object is inserted below the Device.
In the device tree, select SoftMotion General Axis Pool. In the context menu, click Add Device.
The Add Device dialog opens.
Select the SM_Drive_Virtual device. Specify the name of the device as "DriveX".
In the same way, insert two more drives named "DriveY" and "DriveZ" .
In the device tree, open the context menu of the Application object and click Projekt → Add Object → Axis Group. Insert the object with the specified name AxisGroup.
The Axis group object is inserted below the application. The axis group configurator opens.
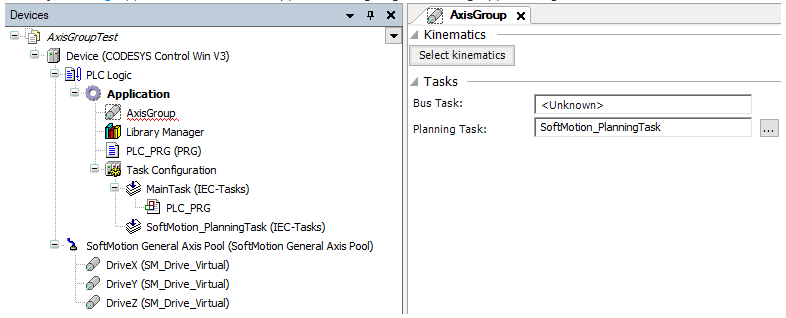
In the configuration editor, click the Select kinematics button.
The Select kinematics dialog opens with a list of all available kinematic configurations and their descriptions.
Select the TRAFO.Kin_Gantry3 kinematic configuration.
The configuration editor for the selected kinematic configuration opens.
In the Mapping to axes parameter group, map the axes to the drives used in the project. To do this, specify the value
DriveXin the X input field, the valueDriveYin the Y input field, and the valueDriveZin the Z input field. You can also use the Input Assistant to select the drive or drag it from the device tree into the input field.
For more information, see: Axis Group Editor