Connecting with Public Key Authentication
SSH allows for a connection to the controller that is secure, encrypted, and authenticated. This allows you to perform remote management of the controller in a safeguarded context.
Authentication can be done by providing credentials (user name and password). You can also choose a more powerful method by using key-based authentication (public key authentication). The user uses a key to log on to the controller. A key consists of a public and a private key. This kind of key pair is much harder to compromise than a password.
The logging operation checks whether the public key of the controller matches the private key of the development system. When this is the case, access is granted without using a password.
You create the SSH keys used in CODESYS on the Windows-based development system. You can optionally specify a passphrase so that the security of public key authentication is increased even more. You can copy the public key to one or even multiple controllers, which may be desirable, for example, on a machine that consists of multiple controllers. The private key always remains on the development system and must never be shared under any circumstances.
Important
Never share the private key.
Creating an SSH key
First create an SSH key in Windows consisting of a private and a public key.
Install the open source "PuTTY" tool.
Different applications are located in
C:\Program Files (x86)\PuTTY.Open the "PuTTYgen" tool.
The following dialog opens.
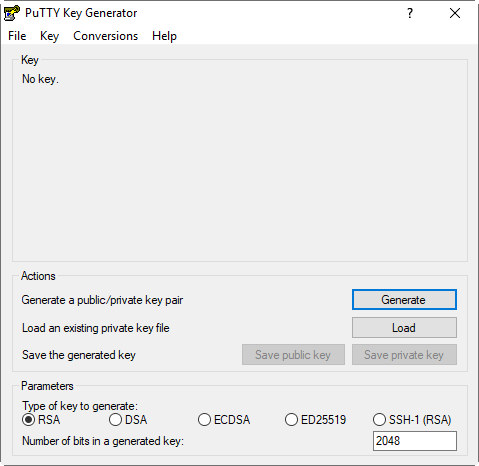
Select the RSA option and click the Generate button.
The creation of the key begins.
In the meantime, move the mouse in the free space below the progress bar until the key is created.
The following dialog opens:
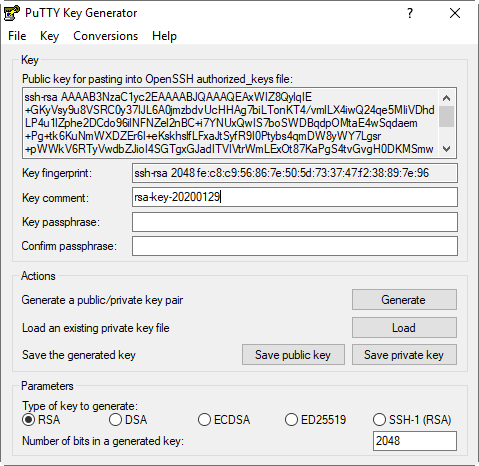
If needed, you can designate a secure and unique passphrase in Key passphrase and Confirm passphrase.
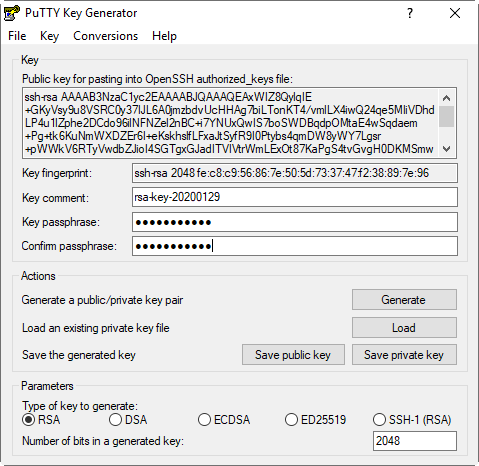
If you have assigned a passphrase, then the keys are also secured. You will need the passphrase every time you use a key to log in to your controller in CODESYS. Keep the passphrase secret so that only authorized persons know it.
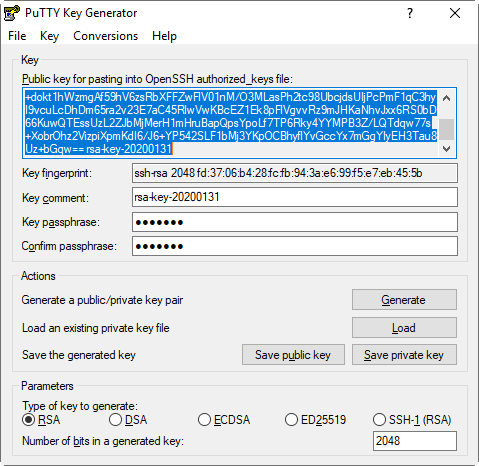
Click the Save private key button and specify a file name (example:
serviceuser.ppk).
Click Save.
The private PPK key is created.
Click the Conversions → Export OpenSSH key command.
Specify a file name (example:
serviceuser.openssh).The private OPENSSH key is created.
In the Public key for pasting into OpenSSH authorized_keys file text field, now select the entire string.
In the context menu, click Copy to copy the string to the clipboard and paste it into a text file. Name the text file (example:
serviceuser.pub).The private PUB key is created.
Move the keys to a suitable, perhaps even hidden, location on the development computer. Or save the files on a USB stick which stays with the development system.
For example, the private and public keys are now located in the
D:\PLCs\BeagleBone\Keysdirectory.Note
Make sure that the private key always remains on the development system. The private key must never be shared.
Copying the public key to the controller
Copy the public key (example: serviceuser.pub) to the controller. Pay attention to the vendor information.
Linking private keys in CODESYS
Open CODESYS and click the Tools → Deploy Control SL command.
On the Communication tab, expand the Key Based Login section.
Click the Add Keyfile button.
A file selection dialog opens.
Select the desired private key (OPENSSH file).
Example:
serviceuser.openssh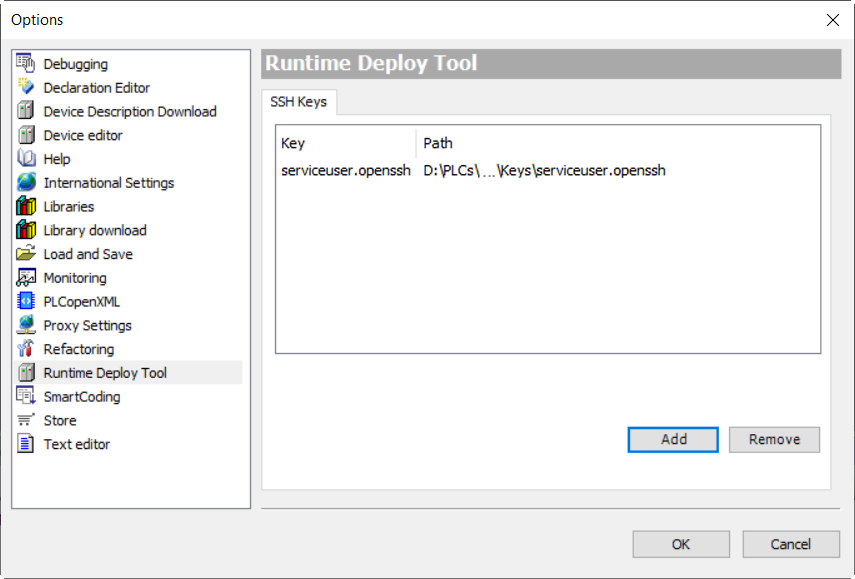
Click OK to confirm the dialog.
The dialog closes. Now CODESYS has the private key.
Tip
You can also link the private key in the options, in the Runtime Deploy Tool category.
Key-based login with an SSH key
Log in to the controller with the SSH key.
Click the Tools → Deploy Control SL command.
The Runtime Deploy Tool opens.
Select the SSH login based on key option.
A list box provides all keys known in CODESYS.
Select the desired key
serviceuser.openssh.Specify the user name and password and if necessary the passphrase in the respective input fields.
Click the Scan button.
The network is scanned for matching controllers. The result of the search is displayed.
Select the desired one from the list of controllers.
For example, click System info.
The SSH server on the controller checks whether or not the private key matches the public key. When this is the case, you are authenticated and logged in. After that, the command is executed and the system information of the controller is displayed in CODESYS.