Installation as a Web Server for Linux – Quickstart
In a terminal, follow the following steps to work directly with CODESYS 4 on the web server.
Tip
For a comprehensive guide, see the following: Installation as a Web Server for Linux
Starting CODESYS 4 as local server
Administrator privileges required
In order to run the following sudo commands, you need administrator privileges on your system (see Debian Wiki: sudo).
Download the CODESYS 4 Debian package from the CODESYS Store.
Install the CODESYS 4 Debian package.
sudo apt install ./codesys-4_[your version]_[your architecture].deb
Create the group
codesys-4and the userc4-server. These are necessary to start the server and log in to the application.In the following example, an additional test user named
hugowill be created and added tocodesys-4group. This user will be able to log in to the application later. This is optional. For testing purposes, you could also simply add an existing user to thecodesys-4group.Create the
codesys-4group if it does not already exist. This group should have been created automatically during the installation of the Debian package.sudo addgroup codesys-4
Create a new system user which will run the server.
sudo useradd --system --create-home c4-server
Optional: Create a new test user named
hugo. Remember the password.sudo adduser hugo
Optional: Add the
hugouser to thecodesys-4group.sudo adduser hugo codesys-4
In
/etc/systemd/system/, create a file namedcodesys-4.service. Replacenanowith your preferred editor.sudo nano /etc/systemd/system/codesys-4.service
Edit the file as follows:
[Unit]
Description=CODESYS 4 Server

[Service]
Type=exec
WorkingDirectory=/opt/codesys-4/
ExecStart=/opt/codesys-4/c4-server --port 8080
Restart=always
# Restart service after 10 seconds if the dotnet service crashes:
RestartSec=10
KillSignal=SIGINT
SyslogIdentifier=codesys-4-server
User=c4-server
Environment=ASPNETCORE_ENVIRONMENT=Production
Environment=DOTNET_PRINT_TELEMETRY_MESSAGE=false

[Install]
WantedBy=multi-user.target
Start the systemd unit which you just created:
sudo systemctl start codesys-4
The CODESYS 4 server will now be reachable locally on port
8080. You will now be able to log in to the application with the credentials of the previously created userHugoat http://localhost:8080.Also set the unit to
enabledto automatically start the server at system startup:sudo systemctl enable codesys-4
Setting up a reverse proxy
In order to make CODESYS 4 accessible from other devices on your network, setting up an upstream HTTPS reverse proxy is required. This is necessary due to technical requirements. For more information, see the following: Pre-positioning a TLS reverse proxy.
To set up the reverse proxy, you can use the nginx package on Debian, for example. The steps necessary for the setup are explained below.
Install the nginx package if it has not already been done:
sudo apt update && sudo apt install -y nginx
To enable HTTPS communication, you need to create a temporary self-signed certificate and a key.
Security risk
Creating self-signed certificates and classifying them as trusted poses a significant security risk. Make sure that third parties never gain access to your certificate or private key. Otherwise, you make yourself vulnerable to a man-in-the-middle attack.
Furthermore, the certificates created in the following steps are intended and suitable exclusively for testing purposes only and not for productive use. For a proper deployment of CODESYS 4, you should have production-ready TLS certificates created in accordance with your company guidelines. Contact your IT department or IT service provider for assistance.
If you are in doubt or not familiar with this area, then you should stop further commissioning at this point and contact your IT department or IT service provider.
For testing purposes, create a private key and a certificate for the reverse proxy:
Create the necessary folders.
sudo mkdir -p /etc/ssl/certs /etc/ssl/private
Create the private key and the self-signed certificate.
sudo openssl req -x509 -nodes -days 365 -newkey rsa:2048 \
  -keyout /etc/ssl/private/codesys-4.key \
  -out /etc/ssl/certs/codesys-4-certificate.crt
Make the key readable only by the owner (root).
sudo chmod 600 /etc/ssl/private/codesys-4.key
Make the certificate world-readable and writable only by the owner (root).
sudo chmod 644 /etc/ssl/certs/codesys-4-certificate.crt
Create the configuration for the reverse proxy. Replace
nanowith your preferred editor.sudo nano /etc/nginx/sites-available/codesys-4
Create the following configuration:
Example 2. /etc/nginx/sites-available/codesys-4# See https://docs.microsoft.com/en-us/troubleshoot/developer/webapps/aspnetcore/practice-troubleshoot-linux/2-2-install-nginx-configure-it-reverse-proxy # for more information. server { listen 443 ssl; listen [::]:443 ssl; ssl_certificate /etc/ssl/certs/codesys-4-certificate.crt; ssl_certificate_key /etc/ssl/private/codesys-4.key; #server_name _; server_tokens off; # see https://nginx.org/en/docs/http/ngx_http_core_module.html#server_tokens location / { rewrite ^/$ /index.html last; proxy_pass http://127.0.0.1:8080; proxy_http_version 1.1; proxy_set_header Upgrade $http_upgrade; proxy_set_header Connection keep-alive; proxy_set_header Connection "Upgrade"; proxy_set_header Host $host; proxy_cache_bypass $http_upgrade; proxy_set_header X-Forwarded-For $proxy_add_x_forwarded_for; proxy_set_header X-Forwarded-Proto $scheme; #hsts header add_header Strict-Transport-Security "max-age=31536000" always; } } # Redirect unencrypted http access to encrypted https access. server { listen 80 default_server; listen [::]:80 default_server ipv6only=on; server_name _; return 301 https://$host$request_uri; }Enable the configuration via symlink:
Disable the default configuration of nginx.
sudo rm /etc/nginx/sites-enabled/default
Enable the configuration which you have created.
sudo ln -s /etc/nginx/sites-available/codesys-4 /etc/nginx/sites-enabled/codesys-4
Now restart nginx to apply the changed configuration:
sudo systemctl restart nginx
CODESYS 4 should now be reachable at https://localhost on port 443 or from other devices on your network at
https://[your_device_name/your_ip_address].Also set the nginx unit to
enabledto also automatically start the reverse proxy at system startup:sudo systemctl enable nginx
If you do not know your IP address, then run the
ipcommand. The requirement for this is that your company network and firewall allow access.ip addr
The output of the command may look something like this:
#1: lo: <LOOPBACK,UP,LOWER_UP> mtu 65536 qdisc noqueue state UNKNOWN group default qlen 1000
#    link/loopback 00:00:00:00:00:00 brd 00:00:00:00:00:00
#    inet 127.0.0.1/8 scope host lo
#       valid_lft forever preferred_lft forever
#    inet6 ::1/128 scope host noprefixroute
#       valid_lft forever preferred_lft forever
#2: end0: <BROADCAST,MULTICAST,UP,LOWER_UP> mtu 1500 qdisc mq state UP group default qlen 1000
#    link/ether 01:23:45:67:89:ab brd ff:ff:ff:ff:ff:ff
#    inet 192.168.0.123/24 brd 192.168.0.255 scope global dynamic noprefixroute end0
#       valid_lft 350450sec preferred_lft 350450sec
#    inet6 fe80::0123:1234:2345:3456/64 scope link noprefixroute
#       valid_lft forever preferred_lft forever
You will find the IP addresses of your server under the
end0device – often alsoeth0or similar (see Debian Wiki: NetworkInterfaceNames).IPv4 address after the word
inet:192.168.0.123IPv6 address after the word
inet6:fe80::0123:1234:2345:3456in the example
If you use a self-signed certificate as described above, then you will get a warning in your browser:
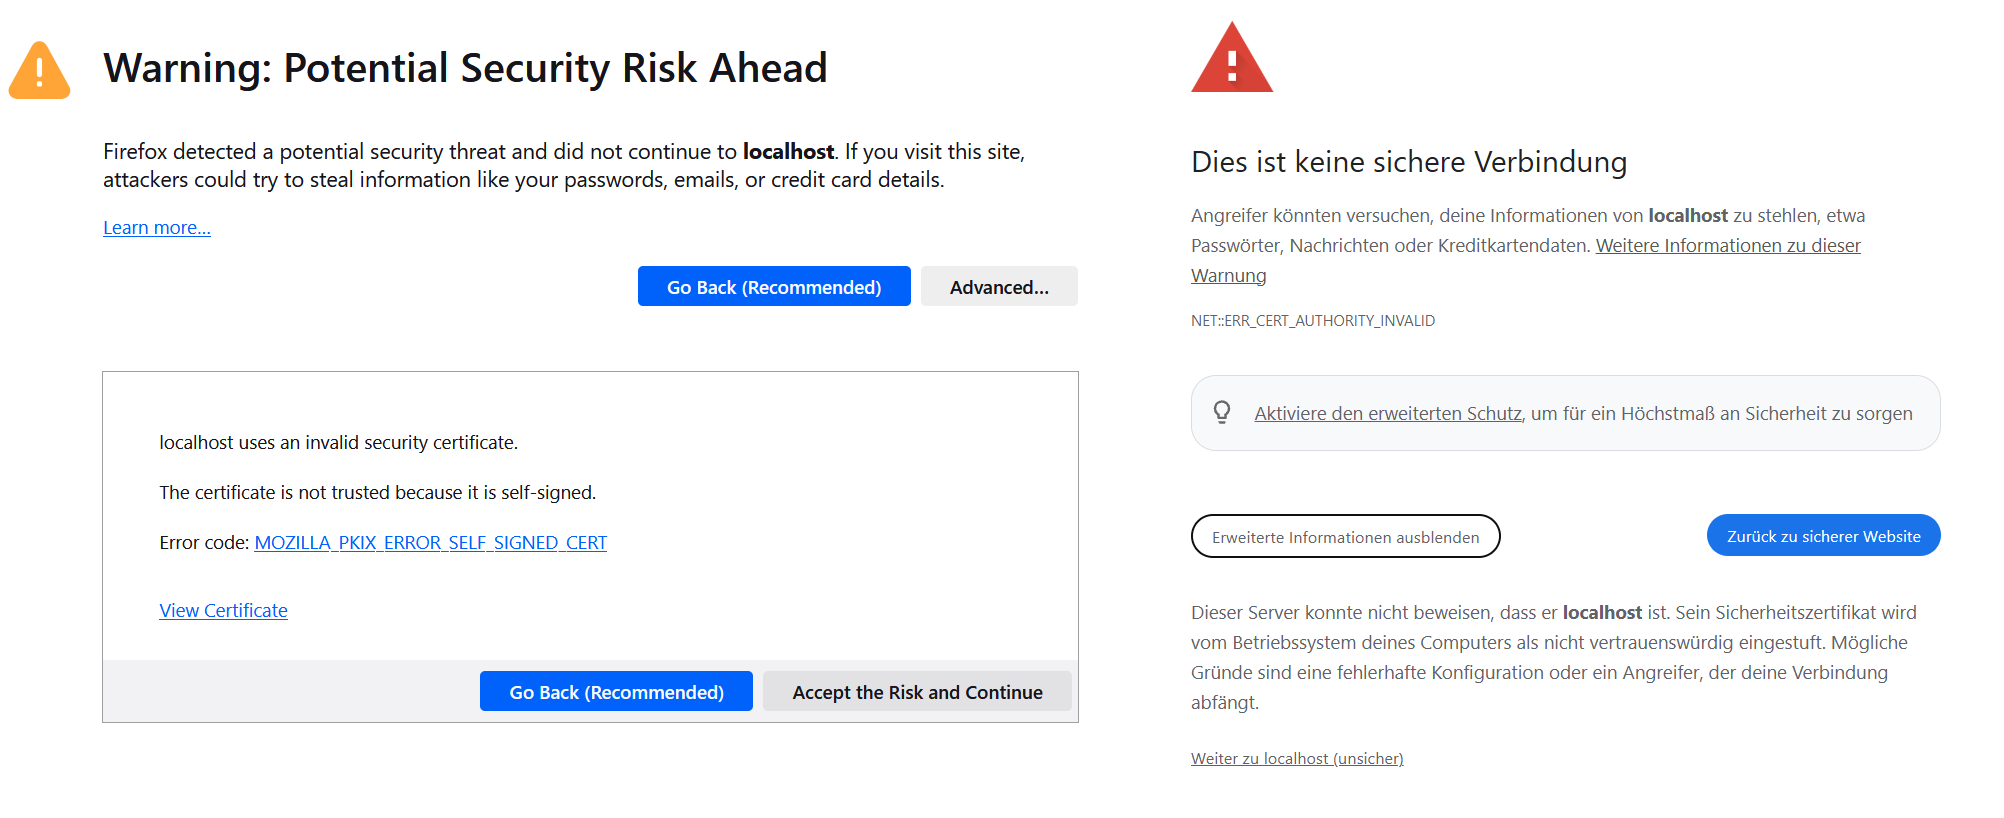
Make sure that you are connecting to your device by comparing the certificate displayed in the browser with the certificate on the device.
To do this, run the following command in your terminal:
openssl x509 -in /etc/ssl/certs/codesys-4-certificate.crt -noout -fingerprint -sha256
The output contains the fingerprint of the certificate. Compare this with the SHA-256 fingerprint of the certificate in the browser. (See Steps for Firefox, or in Google Chrome via the Not secure button in the address bar → Certificate details.) If both fingerprints are identical and you are aware of the risk, then you can temporarily ignore the warning by clicking Accept the Risk and Continue (Firefox) or Proceed to localhost (unsafe) (Google Chrome).